How to Build a Propane Forge (Beginner DIY Build)
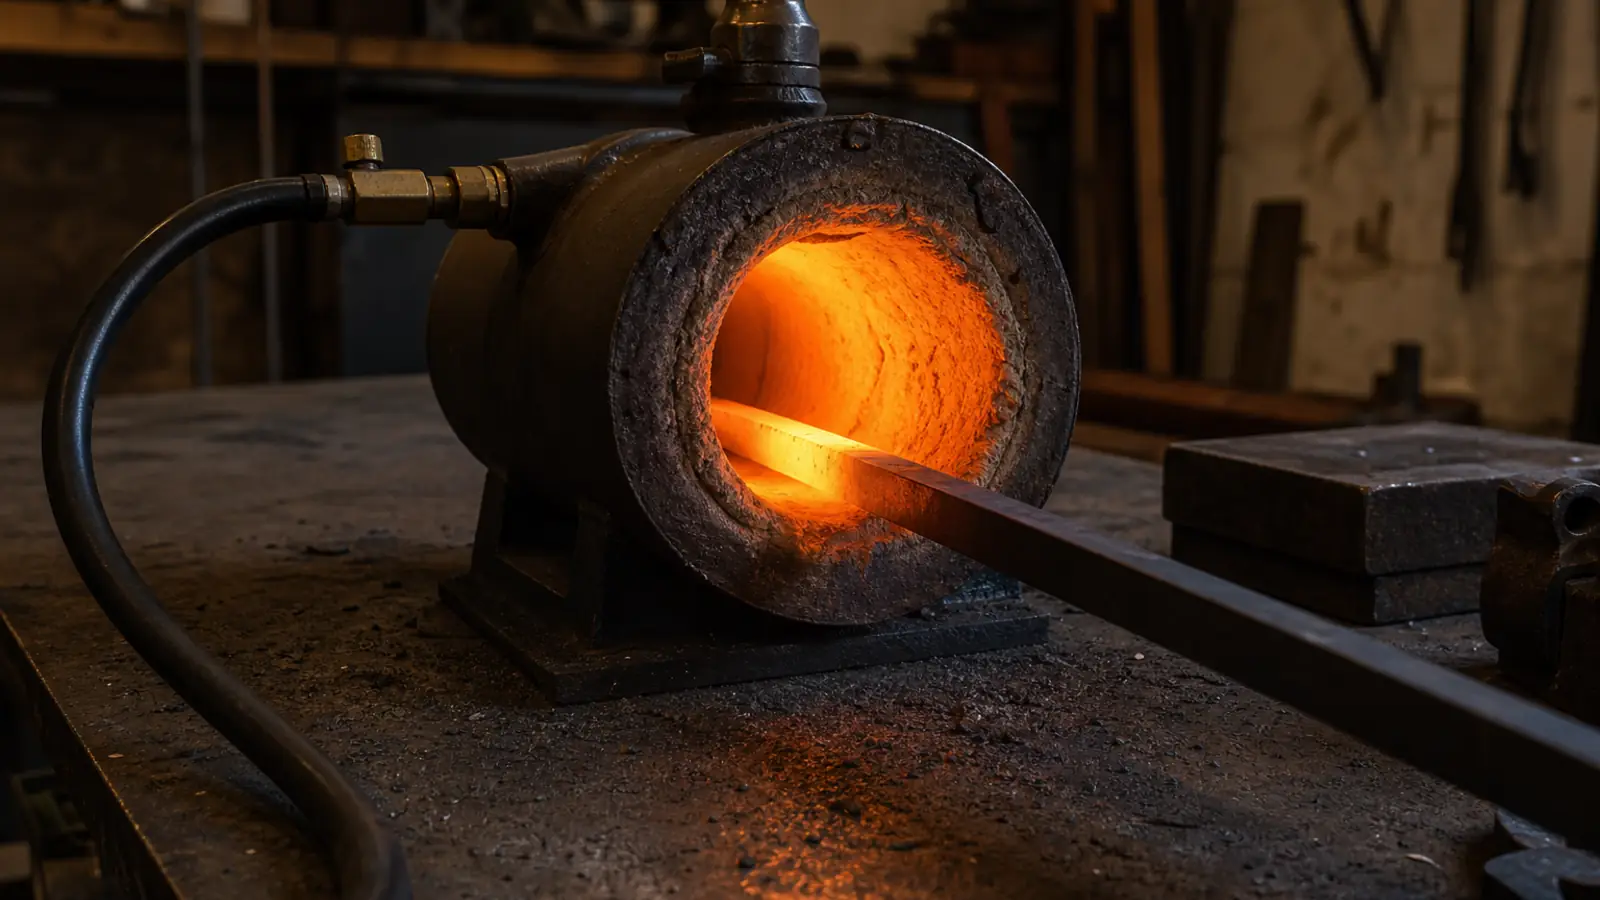
Quick answer
Build a propane forge in five parts: a shell (an old propane tank, an ammo can, or a stack of soft firebrick), a small chamber sized to your work, a ceramic-fiber liner that is rigidized and hard-coated, a firebrick floor, and one burner fed by a 0-30 PSI regulator. Size the burner to the chamber, leak test with soapy water, fire only outdoors, and cure it slowly.
The five parts of a DIY propane forge
Building your own propane forge is the classic first big project for a new blacksmith, and it is genuinely doable in a weekend for less than the price of a finished forge. The recipe never changes: a shell to hold everything together, a ceramic-fiber liner that traps the heat, a hard hot-face coat that protects the fiber, a soft firebrick floor that takes the abuse, and one burner fed by an adjustable 0-30 PSI regulator. Get those five parts right and a single burner on a 20 lb tank will reach forge-welding heat.
This guide runs the build in order: pick a shell, size the chamber to your work, size the burner, line and coat it, mount the burner, plumb the gas, leak test, and cure it slowly. If you are still deciding between building and buying, run the numbers with the propane forge cost calculator and skim our best propane forge for beginners roundup - a bare-bones build usually wins on price, while a kit wins on time. Ready to build? Start with the shell.
Step 1: Pick a shell and size the chamber
Almost any steel container that holds fiber and survives heat can be a forge shell. The three beginner favorites are an empty 20 lb propane tank (round chamber, great for knives), a steel ammo can or tool box (rectangular, easy to add a door), and the simplest of all - a stack of soft insulating firebricks with a burner hole drilled through the top, which needs no welding or cutting at all.
Whatever you choose, keep the interior small. A chamber around 300-350 cubic inches - roughly 6 inches round by 12 inches long (about 5 L) - is plenty for knives and small work and heats fast on one 3/4 in burner. Every extra cubic inch is more propane and a bigger burner. Because you will lose about 2 inches of wall to fiber on every side, lay the shell out with that in mind before you cut anything.
| Shell | Best for | Notes |
|---|---|---|
| Empty 20 lb tank | Round knife/blade forge | Cheap; purge with water before cutting |
| Ammo can / tool box | Wide or flat stock | Easy to mount and add a door |
| Soft firebrick stack | Simplest possible build | No welding; rearrange bricks anytime |
| 8 in steel pipe | Compact single burner | Needs end plates and doors |
| Old freon / helium tank | Larger chamber | Purge fully; never a fuel tank |
Size the burner for your build
Step 2: Size and choose the burner
A single naturally-aspirated 3/4 in burner makes roughly 90,000 BTU/hr and heats about 350 cubic inches. A 1 in burner (~150,000 BTU/hr) covers about 700 cubic inches. If you plan to forge weld, add about 25 percent to those numbers. Do not eyeball it - drop your chamber volume into the forge burner BTU calculator and let it tell you the burner size.
You can build a burner from black-iron pipe, a reducer, and a MIG contact tip for the gas jet, or buy a tuned one and skip the fiddling. For a first forge, a ready-made burner removes the single most frustrating variable; our best propane forge burner picks cover both routes.
Core parts for the build
These are the parts that do the work. Pick one burner sized to your chamber, enough ceramic-fiber blanket for two 1 in layers, rigidizer and a hard hot-face to seal it, soft firebrick for the floor, and a 0-30 PSI regulator with an LP-rated hose.
3/4 in naturally-aspirated forge burner
3/4 in
- BTU/hr
- 90,000
- Burners
- 1
- Regulator
- 0-30 PSI
Heats roughly 300-350 cu in of chamber. The default single-burner size for a first forge. Needs a 0-20 or 0-30 PSI regulator.
1 in high-output forge burner
1 in
- BTU/hr
- 150,000
- Burners
- 1
- Regulator
- 0-30 PSI
Feeds a larger chamber (up to ~700 cu in) or reaches welding heat. Hungrier - pair with a 30/40 lb tank to avoid freeze-up.
Blown (ribbon) forge burner
forced-air
- BTU/hr
- 120,000
- Burners
- 1
- Regulator
- 0-30 PSI
A fan feeds air for even, controllable heat and easy welding, but needs power and more setup than a naturally-aspirated burner.
Ceramic fiber blanket, 1 in x 8 lb density
1 in thick, 2300-2600F
- Material
- Ceramic Fiber
The standard forge liner. ALWAYS rigidize and coat it - loose ceramic fibers are a respiratory hazard. Wear a respirator when cutting.
Ceramic fiber blanket, 2 in x 8 lb density
2 in thick, 2300-2600F
- Material
- Ceramic Fiber
Two inches of wall holds heat and gas better and cuts propane use. Same safety rules: rigidize, coat, and never breathe the dust.
Ceramic fiber rigidizer
1 qt
- Material
- Colloidal Silica
Hardens the blanket surface and locks fibers down before you coat it. A must for a safe, durable lining. Roughly 40 sq ft per quart.
Refractory coating (ITC-100 style)
pint
- Material
- Refractory
Reflective hard coat over rigidized blanket - protects the fiber and pushes heat back at the work. Brush on thin over a satanite/Kastolite layer.
Soft insulating firebrick, 2600F (pack)
9 x 4.5 x 2.5 in
- Material
- Insulating Firebrick
Insulating (not hard/dense) brick for floors, doors and baffles. Cuts with a saw. Do not confuse with heavy red hard brick, which wastes fuel.
Hard firebrick floor tile
9 x 4.5 x 1.25 in
- Material
- Hard Firebrick
A hard-brick or kiln-shelf floor resists forge-welding flux, which eats soft brick and kaowool. Use as a sacrificial floor for welding.
Adjustable propane regulator 0-30 PSI
POL/QCC-1 fitting
- Regulator
- 0-30 PSI
0-30 PSI range reaches forge-welding pressure. Confirm the tank fitting (QCC-1) matches your tank.
Adjustable propane regulator 0-20 PSI
POL/QCC-1 fitting
- Regulator
- 0-20 PSI
Fine for general forging heat. If you plan to forge-weld, choose the 0-30 PSI version instead.
Step 3: Line, rigidize, and hard-coat
Insulation is where beginners waste the most fuel. The proven stack is two 1 in layers of 8 lb/ft^3 ceramic-fiber blanket on the walls and ceiling, a rigidizer sprayed on and flashed off to stiffen the fiber, a hard refractory hot-face troweled over that, and a soft firebrick floor to take dropped stock and flux.
Never run bare fiber. Uncoated ceramic-fiber blanket sheds respirable fibers every time you load the forge, and the hard face also reflects heat back at your work and shrugs off flux. Skip dense red building brick entirely - it is a structural brick, not an insulator, and it will drink your heat. Our forge insulation guide walks the layers in detail, and the forge insulation calculator tells you exactly how much blanket to buy for your chamber size.
Step 4: Plumb the gas safely
Feed the burner from an adjustable 0-30 PSI regulator and an LP-rated hose with a POL or ACME/QCC tank fitting. Do not use the fixed low-pressure regulator off a gas grill - it caps out around 0.5 PSI and cannot supply a forge. Most beginners run between 5 and 15 PSI. For hookup order and fitting details, see our propane forge regulator guide.
Tank size matters more than people expect. A 20 lb tank frosts over and starves the burner during a long session as the liquid propane struggles to vaporize; a 30 or 40 lb tank keeps up far better. Our propane tank sizes guide matches tank size to burner draw so you do not stall out mid-heat.
Step 5: Cure it before the first real forging
Rigidizer and hard-coat are water-based and must dry before high heat. On the first firing, run the burner low for 20-30 minutes to drive off moisture, then step the pressure up gradually over the next hour. Trapped steam that flashes to vapor all at once will crack and spall your hot-face. Cure outdoors, and do the whole first firing where you can watch it.
How to Build a Propane Forge
- Design and size the chamber Choose a shell and plan a small interior around 300-350 cubic inches for general beginner work. Account for about 2 inches of fiber on every wall, and use the forge burner BTU calculator to confirm one burner can heat your chosen volume.
- Cut and prep the shell Cut door openings and the burner port. If you are reusing a propane or gas tank, fully purge it with water and remove the valve first. Deburr edges and drill the burner mount at a slight tangent so the flame swirls.
- Line with ceramic fiber Fit two 1 in layers of 8 lb ceramic-fiber blanket to the walls and ceiling, staggering seams. Wear a respirator and gloves. Cut a floor recess for firebrick so the fiber never carries dropped stock.
- Rigidize, hard-coat, and set the floor Spray rigidizer over the fiber and flash it off, then trowel a hard refractory hot-face over the entire lining. Set a soft insulating firebrick floor. Let everything air-dry fully before firing.
- Mount the burner Secure the burner in its port so the flame clears the fiber and points slightly off-center. Brace it so it cannot vibrate loose. Confirm the burner tip sits flush with or just proud of the hot-face.
- Plumb the gas and leak test Connect a 0-30 PSI adjustable regulator and an LP-rated hose with the correct tank fitting. Brush soapy water on every joint and open the tank - growing bubbles mean a leak to fix before you light anything.
- Cure on the first firing Outdoors and ventilated, light the burner low and hold it for 20-30 minutes to drive off moisture, then raise pressure gradually over the next hour. Watch for steam. Once dry, the forge is ready to work.
Frequently asked questions
Is it cheaper to build or buy a propane forge?
For most beginners, building is cheaper. A shell, ceramic-fiber blanket, rigidizer and hot-face, soft firebrick, one burner, and a regulator often come in well under a comparable finished forge, especially if you scrounge the shell. Buying wins on time and tuning. Run both through the propane forge cost calculator before you commit, because prices on blanket and burners move around.
What size burner do I need for a DIY forge?
Size the burner to the interior volume, not the outside of the shell. One 3/4 in naturally-aspirated burner (~90,000 BTU/hr) heats about 350 cubic inches; a 1 in burner (~150,000 BTU/hr) covers about 700. Add roughly 25 percent if you want to forge weld. Enter your chamber volume in the forge burner BTU calculator for an exact answer.
Can I line a forge with regular red bricks?
No. Dense red building brick is a structural product with almost no insulating value, so it soaks up heat and slows the forge badly. Use ceramic-fiber blanket for the walls and ceiling, and soft insulating firebrick for the floor. Hard firebrick can survive a floor that sees heavy abuse, but it still insulates poorly compared with soft brick.
Do I have to coat the ceramic fiber blanket?
Yes. Bare ceramic-fiber blanket sheds respirable fibers every time you handle it or load stock, and it erodes under flux. Rigidize the fiber to stiffen it, then apply a hard refractory hot-face. The coating locks the fibers down, reflects heat back into the chamber, and stands up to forge-welding flux. Never run a forge with exposed, uncoated fiber.
What propane tank works best with a homemade forge?
A single burner will run off a 20 lb tank, but the tank frosts over and pressure drops during long sessions as liquid propane struggles to vaporize, especially in cold weather. A 30 or 40 lb tank vaporizes fast enough to keep a burner fed. For long forge-welding sessions, a bigger tank or a two-tank manifold solves the frosting problem.
Is it safe to cut up an old propane tank for a forge?
Only after you make it inert. Fully empty the tank, remove the valve, and flush it repeatedly with water until no propane smell or vapor remains - many builders fill it with water and cut while it is full. Never cut, grind, or weld on a tank that has not been purged. Propane vapor left in a sealed tank can explode.
Last verified 2026-06. Specs, sizes and market prices change - confirm details on the retailer page before buying.