How to Forge a Knife: The Full Beginner Workflow
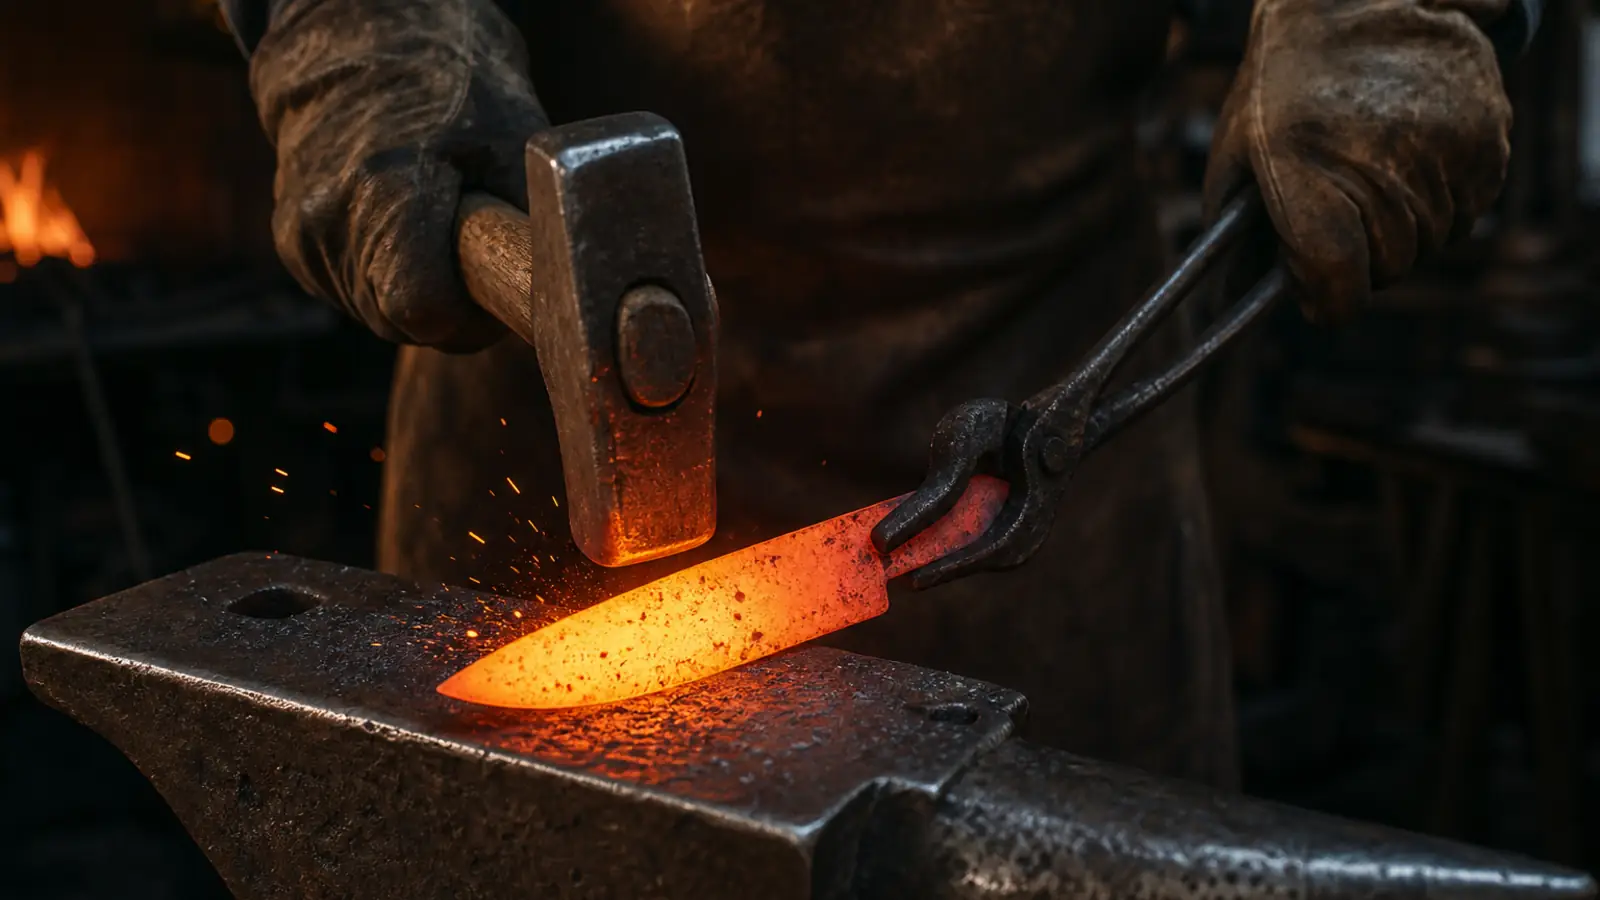
Quick answer
Forge a first knife from 1084 high carbon steel. Shape the point, bevels, and tang at a bright orange to yellow heat (1700-2100F), normalize two or three times, then harden by heating just past nonmagnetic - about 1500F - and quenching edge-first in fast oil. Temper twice at 375-450F, two hours per cycle; 400F lands 1084 near 60 HRC, hard enough to hold an edge and tough enough to flex. Grind, handle, and sharpen after heat treat, never before.
Forging a knife, start to finish
Every forged knife goes through the same stages no matter whose shop it happens in: pick the steel, forge the blade to rough shape, normalize, anneal, rough grind, harden, temper, then finish and fit a handle. Each stage exists to set up the next one, and almost every first-knife failure traces back to a skipped stage rather than a difficult one.
None of it needs exotic equipment. A small propane forge, a 2 lb hammer, an anvil or a solid steel substitute, a magnet on a wire, a tall can of quench oil, and a kitchen oven will take you from bar stock to finished blade. Plan on two or three shop sessions for a first knife, and expect the grinding to take longer than the forging.
This guide walks the whole sequence in order. If you remember only one thing, make it this: known steel plus two honest temper cycles is what separates a working knife from a knife-shaped object.
Steel choice: 1084 is the beginner standard
Start with 1084. It is a simple high carbon steel with roughly 0.80 to 0.93 percent carbon, sitting near the eutectoid point where steel hardens fully without long soaks or tight oven control. It tolerates the temperature swings of a forge heat, and it quenches in oil rather than crack-happy water. Supplier data sheets list an as-quenched hardness of 64-65 HRC, which tempers back to a tough working hardness near 60.
1095 gets recommended constantly and makes fine knives, but it is a worse first steel: the hardening window is tighter and it needs a genuinely fast quench oil to reach full hardness. The trade-offs are laid out in 1084 vs 1095, and the wider field - 1075, 5160, O1, 15N20 - in the knife steel comparison.
Buy the bar new and labeled from a knife supply house; see where to buy steel for sources. A stick of 1/8 to 5/32 in thick by 1 to 1.5 in wide covers a first knife with room for mistakes. Skip mystery steel for blades: if you cannot name the alloy, you cannot heat treat it on purpose.
Forge the profile: point, bevels, tang
Work 1084 between a bright orange and a lemon yellow, roughly 1700-2100F, and stop hammering when the color drops to a dull red near 1500F - forging colder invites cracks that only show up in the quench. Judge color in shade, not sunlight, and keep the forging temperature chart nearby until your eye calibrates.
- Point first. Angle the bar over the far edge of the anvil and forge a short two-sided taper so the tip rises just above the centerline of the bar. Setting the point early keeps the end from fishmouthing.
- Bevels second. Hammer along the edge side at a slight angle, flipping the blade every few blows so both bevels grow evenly. As the edge thins and stretches, the blade will sweep upward like a banana; pre-curve the edge downward before beveling, or correct by working the spine.
- Tang last. Isolate the tang with half-face blows over the anvil edge, then draw it to a taper. A drawn-out stick tang buried in a block handle is the classic forged construction; a full-width tang with pinned scales is easier to fit on a first knife.
Leave the edge about the thickness of a dime, 0.03 to 0.05 in. An edge forged near-sharp overheats in the forge, then warps or cracks in the quench.
| Steel | Forge at | Harden at | Quench | Temper for a first knife |
|---|---|---|---|---|
| 1084 | 1700-2100F | 1475-1500F | Fast oil, or warm canola | 2x 2 hr at 400F, ~60 HRC |
| 1080 / 1075 | 1700-2100F | 1475-1500F | Fast oil | 2x 2 hr at 375-400F |
| 1095 | 1650-2050F | ~1475F | Fast oil only (Parks 50 class) | 2x 2 hr at 375-400F |
| 5160 | 1700-2150F | ~1525F | Medium oil, warmed | 2x 2 hr at 375-425F |
| O1 | 1650-1950F | 1475-1500F | Medium oil, warmed | 2x 2 hr at 400F |
Normalize, then anneal
Forging leaves the steel with coarse, stressed grain that cracks and warps easily. Normalizing resets it: heat the whole blade evenly to just past nonmagnetic, pull it, and let it cool in still air until the glow is gone. Repeat two or three times, backing the peak heat off slightly each pass - roughly 1600F, then 1500F, then just to nonmagnetic. Fine grain from good normalizing is the cheapest toughness upgrade a beginner can buy.
Annealing then softens the blade for drilling and filing. After the last normalizing cycle, bring the blade to a dull red just below nonmagnetic and bury it in a bucket of vermiculite or dry wood ash to cool over several hours. If you plan to grind rather than file and have carbide drill bits, you can get away without a full anneal on 1084, but pin holes drill far easier in annealed steel.
Rough grind before hardening
Do most of the cleanup while the steel is soft. Grind or file the profile clean, flatten the worst hammer marks, and take the bevels close to final shape - but leave the edge 0.03 to 0.05 in thick, about a dime. Drill your pin or lanyard holes now.
Radius every inside corner, especially where the blade meets the tang. Sharp internal corners are stress risers, and a stress riser plus a quench is how blades snap in half. A smooth 1/8 in radius at the tang shoulders costs nothing and prevents the most heartbreaking failure in knife making. Finish this stage around 120 to 220 grit so decarburized skin and deep scratches do not hide cracks.
Hardening: nonmagnetic, decalescence, and the quench
The magnet trick works because iron loses its magnetism at the Curie point, about 1414F (768C). Usefully for us, a simple carbon steel heated slowly in a forge actually stops attracting the magnet when it transforms into austenite at or just below that temperature - so nonmagnetic means the transformation is happening, and the hardening heat of 1475-1500F sits one shade of color brighter.
Heat the blade slowly and evenly, tip shaded from direct flame. When the magnet stops sticking, go slightly brighter and hold roughly one minute so the whole cross-section catches up. In dim light you can also watch for decalescence: a dark shadow that sweeps through the glow as the steel absorbs heat during the transformation. When the shadow has passed and the color is even, quench.
Move fast from forge to oil - the thin edge loses heat in seconds. Plunge the blade edge-first and dead vertical into a tall steel container of fast quench oil (or canola warmed to about 120F as the budget standby - see the best quench oil picks) and hold it still until the sizzle stops. Then check your work: a sharp file should skate across the edge without biting. If it bites, re-normalize and try again.
Get exact temps and quench for your steel
Temper twice, within the hour
Straight out of the quench the blade is glass-hard, brittle, and full of stress - drop it on concrete and it can shatter. Temper within an hour: bake the cleaned blade at your chosen temperature for two hours, cool to room temperature, then run a second two-hour cycle. Two cycles are the standard because the first pass transforms retained austenite and the second tempers what the first created.
For 1084, supplier tempering tables run roughly 375F for maximum edge hardness (63-64 HRC), 400F for the all-round sweet spot (60-61 HRC), and 450F for a tougher chopper (57-58 HRC). Use a separate oven thermometer; household ovens routinely swing 25F. On clean steel the flats will turn a pale straw color in this range - the full gradient is on the tempering colors chart. After tempering, press the edge sideways against a brass rod: it should flex and spring back, not chip and not stay bent.
Finish work and the handle
Now grind to final shape, and keep the steel cool while you do it: dunk in water every pass or two. If the edge flashes straw or blue on the grinder, you have re-tempered that spot soft and thrown away your heat treat. Hand-sand from 220 up to 400 grit or wherever you like the look; forged blades wear a scale-and-satin finish well.
For a full tang, cut two hardwood or Micarta scales, flatten the mating faces, and glue with a quality epoxy plus pins through your pre-drilled holes. Clamp overnight, then shape the handle on the knife. For a stick tang, drill and burn-fit or epoxy the tang into a block handle. Hardware-store oak or maple is perfectly respectable for a first knife.
Sharpen dead last, once all grinding and gluing is done - about 15 to 20 degrees per side on a coarse stone, refined until it slices paper cleanly. Wipe the blade with oil or paste wax; plain high carbon steel rusts if you stare at it too hard.
How to Forge a Knife from 1084 Steel
- Cut known steel Start with new, labeled 1084 bar about 1/8 to 5/32 in thick and 1 to 1.5 in wide. Leave the bar long, 10 to 12 in, so you can hold the cold end while forging the blade.
- Forge the point At a bright orange heat (1700-2100F), forge a short taper on the tip over the far edge of the anvil, working both edge and spine sides so the point rises slightly above the bar centerline.
- Forge the bevels Hammer along the edge at a slight angle, flipping every few blows, until the edge is drawn down to about dime thickness (0.03-0.05 in). Correct the upward sweep by working the spine as you go.
- Forge the tang Isolate the tang with half-face blows over the anvil edge and draw it to a taper. Radius the shoulders where blade meets tang instead of leaving sharp inside corners.
- Normalize two or three times Heat the blade evenly to just past nonmagnetic and cool in still air until the glow is gone. Repeat, backing the peak heat down slightly each cycle, to refine the grain. Do not quench.
- Anneal and rough grind Heat to dull red and cool slowly buried in vermiculite or wood ash. Then grind the bevels near-final, drill pin holes, and clean the blade to about 120-220 grit, keeping the edge dime-thick.
- Harden Heat evenly to about 1475-1500F - one shade past nonmagnetic, after the decalescence shadow passes - and quench edge-first into fast oil, holding still until the sizzle stops. A file should skate on the edge.
- Temper twice Within an hour, bake the blade at 400F for two hours, cool to room temperature, and repeat a second two-hour cycle. Use a standalone oven thermometer, not the dial.
- Finish, handle, sharpen Grind and sand to final finish while keeping the steel cool, fit the handle with epoxy and pins, and sharpen last at 15-20 degrees per side. Oil the blade to hold off rust.
Frequently asked questions
What is the best steel to forge a knife from as a beginner?
1084 high carbon steel. With roughly 0.80 to 0.93 percent carbon it hardens fully from about 1500F in ordinary quench oil, and its wide hardening window forgives forge-heat guesswork. It costs only a few dollars per blade from knife supply houses. 1095 works but needs a very fast oil and tighter temperature control - see 1084 vs 1095 before choosing it first.
What temperature do you forge a knife at?
Forge simple carbon steels like 1084 at a bright orange to lemon yellow, roughly 1700-2100F, and stop hammering when the blade fades to dull red near 1500F. Forging too cold cracks the edge; heating to white sparks burns the steel outright. A forging temperature chart matched to glow color is the practical way to judge heat in a dim shop.
How do you know when a blade is ready to quench?
Use a magnet plus your eyes. Steel stops attracting a magnet around the Curie point of iron, about 1414F, which for slowly heated simple steels coincides with the transformation to austenite. Heat one shade brighter - about 1475-1500F for 1084 - hold briefly, and watch in dim light for the dark decalescence shadow to sweep through and pass. Then quench immediately, edge-first.
Can you quench a knife in water instead of oil?
Not with 1084 or 1095 - water cools too violently for them, and the usual result is a cracked or shattered blade. Use a fast quench oil, or canola warmed to about 120F on a budget. Water and brine are reserved for shallow-hardening low carbon projects, like a railroad spike knife, where there is not enough carbon for cracking to be a real risk.
What hardness should a finished knife be?
Most belt knives land between 58 and 61 HRC. For 1084, two 2-hour tempers at 400F give about 60-61 HRC - a strong all-round choice. Temper at 375F and you keep 63-64 HRC for a fine slicer that chips more easily; temper at 450F for a 57-58 HRC chopper that rolls instead of chips. Hardness is a trade you pick with the tempering oven, not the quench.
How long does it take to forge a knife?
Budget 6 to 12 hours of actual work for a first knife, spread over two or three sessions: an hour or two of forging, a session of grinding and heat treating (plus four-plus hours of unattended tempering), and a session of finishing and handle work. Experienced smiths compress that dramatically, but rushing grinding or heat treat is the classic way to ruin day one's work.
Last verified 2026-07. Specs, sizes and market prices change - confirm details on the retailer page before buying.