How to Mount an Anvil the Right Way
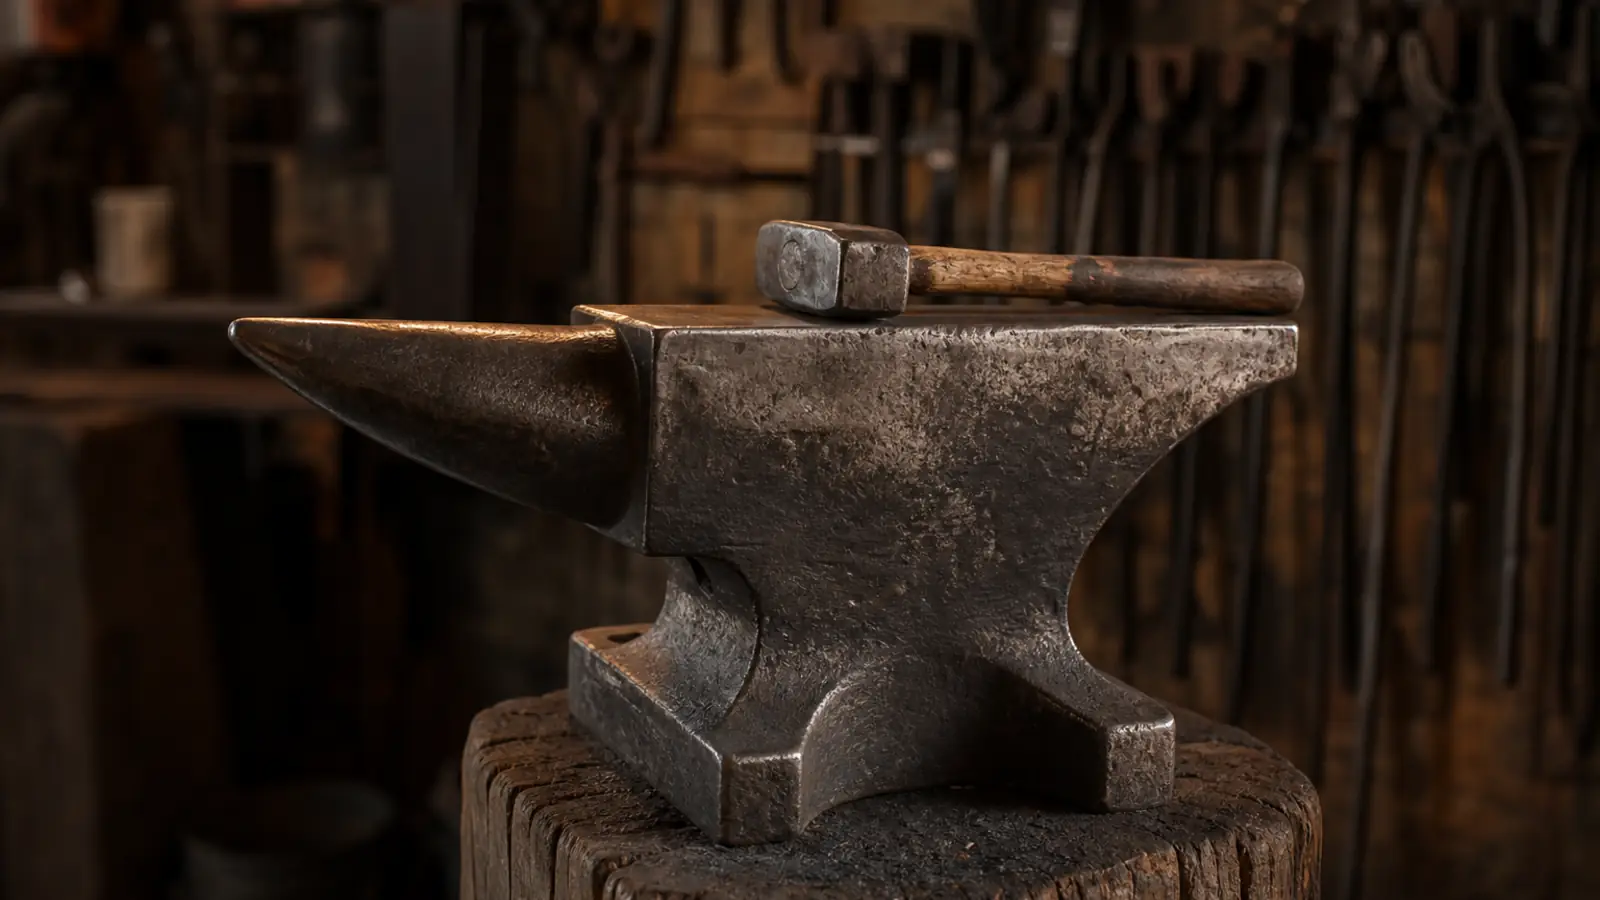
Quick answer
Mount your anvil on a solid base (hardwood stump, welded steel stand, or tripod), set the face to your knuckle height when standing relaxed, and secure the feet with chain and a turnbuckle plus a bead of silicone caulk. That kills wobble, protects your back, and quiets the ring so you can actually work.
Why mounting is half the tool
A loose anvil steals your work. Every hammer blow you land is supposed to go into the steel, but if the anvil rocks, bounces, or sits too low, a chunk of that energy goes into moving the anvil and wrecking your posture instead. A well-mounted anvil feels dead solid under the hammer, returns good rebound, sits at the right height for your back, and doesn't scream a high note that leaves your ears ringing after ten minutes.
There are three things you are solving for: stability (no rock, no walk across the shop), height (face at your knuckle so your arm swings straight), and noise (that painful ring, which you tame rather than eliminate). Get those right and even a modest 66 lb anvil punches above its weight. Before you build anything, know what your anvil actually weighs so you can size the base and the securing hardware.
Pick a base: stump, steel stand, tripod, or sand
Four bases cover almost every beginner setup, and none of them is wrong:
- Hardwood stump. A section of oak, elm, maple, or another dense hardwood is the classic base and still one of the best. Mass and wood grain absorb ring naturally, it's cheap or free, and you can chop it to exact height. Let green wood dry or it will check and shrink around your hold-downs.
- Welded steel stand. A three- or four-leg stand made from angle iron or square tube gives a rock-solid, portable base with a bolt-on top plate. It rings more than wood, so you deaden it with silicone and magnets. Best if you can weld or know someone who can.
- Tripod stand. A three-leg design (steel or a heavy wooden A-frame) self-levels on uneven ground better than four legs, which is handy for a garage floor that isn't flat or for working outdoors.
- Sand-filled base. A steel tube or a plywood box filled with dry sand, or a stump with a sand cavity, adds mass and swallows vibration. It's the quietest option and great for apartments and shared garages, but it's heavy and not portable once filled.
Match the base footprint to the anvil. The base should be at least as wide as the anvil is long so it can't tip when you work off the horn or the heel.
| Base | Stability | Cost | Noise | Portable |
|---|---|---|---|---|
| Hardwood stump | Very good | Free to low | Low (wood absorbs) | Heavy but movable |
| Welded steel stand | Excellent | Medium | High until deadened | Yes |
| Tripod stand | Good on uneven floors | Low to medium | Medium-high | Yes |
| Sand-filled base | Excellent | Low | Lowest | No, once filled |
Anvils worth mounting
Mounting technique is the same at any size, but a heavier anvil is easier to stabilize and quieter to begin with. These two entry classes cover most beginners: a compact ~66 lb cast-steel anvil as a starting floor, and a ~132 lb cast-steel anvil that stays put with far less fuss.
Cast-steel anvil 66 lb
19 x 4 x 10 in
- Weight
- 66 lb
- Material
- Cast Steel
- Hardness
- ~50 HRC
- Face (in)
- 3.9 x 9.8
- Hardy hole
- 1 in
Popular beginner weight. Ring and rebound vary by batch - test rebound with a ball bearing if you can.
Cast-steel anvil 55 lb
17 x 3.5 x 9 in
- Weight
- 55 lb
- Material
- Cast Steel
- Hardness
- ~48 HRC
- Face (in)
- 3.5 x 9
- Hardy hole
- 0.9 in
Light and portable but bounces on light stands. Bolt it down or mount to a heavy stump.
Cast-steel anvil 70 lb
20 x 4 x 10 in
- Weight
- 70 lb
- Material
- Cast Steel
- Hardness
- ~52 HRC
- Face (in)
- 4 x 10
- Hardy hole
- 1 in
A little more mass than the 66 lb for a similar price. Marketing hardness claims are often optimistic.
Cast-steel anvil 132 lb
26 x 4.5 x 12 in
- Weight
- 132 lb
- Material
- Cast Steel
- Hardness
- ~52 HRC
- Face (in)
- 4.5 x 12
- Hardy hole
- 1 in
Enough mass for confident general forging. Shipped by freight - check delivery cost, not just Prime.
Cast-steel anvil 110 lb
24 x 4.3 x 11 in
- Weight
- 110 lb
- Material
- Cast Steel
- Hardness
- ~50 HRC
- Face (in)
- 4.3 x 11
- Hardy hole
- 1 in
Middle-weight all-rounder. Verify hardy hole size matches tools you plan to buy.
Cast-steel anvil 150 lb
27 x 5 x 13 in
- Weight
- 150 lb
- Material
- Cast Steel
- Hardness
- ~54 HRC
- Face (in)
- 5 x 13
- Hardy hole
- 1 in
Great shop anvil weight. Freight only - budget for a pallet or curbside delivery.
Set the height to your knuckle
Stand up straight, relaxed, arm hanging at your side, and make a loose fist. The top of the anvil face should land right about at your knuckles. That puts the work in front of a naturally straight forearm swing, so you hit flat and don't hunch. For most people that's roughly 28 to 34 inches (71-86 cm) from floor to face, but measure your own body rather than a chart.
A few adjustments: if you do a lot of fine, detailed work you can go an inch higher; heavy drawing-out or striking with a big hammer feels better an inch lower. Cut a stump long and trim it down in small passes, because you can always remove wood but you can't add it back. On a steel stand, weld or bolt in a plate you can shim rather than committing to a fixed height on day one.
Position, level, and secure the feet
Set the anvil so the horn points to your non-dominant side (horn on the left for a right-handed smith) and you have clear swing room around the whole face and heel. Level it front-to-back and side-to-side with a spirit level; an anvil that leans will send your blows sideways and mark the face unevenly. On wood, seat it in a shallow recess traced from the base so it can't creep.
Now lock it down without cracking anything. The goal is firm, not brutal:
- Chain and turnbuckle. Run a length of chain over the waist (or through the feet) and down to eye bolts or hooks in the base, then tension it with a turnbuckle. This is the classic hold-down and it doubles as a ring deadener.
- Silicone caulk or construction adhesive. Lay a fat bead of silicone under each foot before you set the anvil down. It grips, fills gaps so the anvil sits flat, and soaks up vibration. Let it cure before hammering.
- Spikes, lag straps, or clips over the feet. Bent steel straps, forged staples, or fabricated clips lagged into a wood base pin the feet down. Don't drill or weld to the anvil itself; capture the feet instead.
- Magnets. Strong rare-earth magnets stuck to the waist or under the horn add mass exactly where the ring lives and knock the pitch down noticeably.
Use the hold-down, the silicone, or both. Bolting rigidly through the feet with no cushion can actually increase ring and stress the anvil, so a little give is your friend.
Tame the ring
A good hardened anvil rings because it's springy, and that same springiness gives you the rebound you want, so you never want to fully kill it. You just want to bring a painful high note down to a dull thud. Stack the cheap fixes: a silicone bead under the feet, a chain snugged around the waist, and one or two magnets on the sides will together drop most anvils to a comfortable working sound. Wood and sand bases start out quieter than bare steel. Wear hearing protection regardless. If it's still sharp, add more chain wraps or a second magnet before you try anything drastic.
How to mount an anvil for stability, height, and quiet
- Pick your base Choose a hardwood stump, a welded steel or tripod stand, or a sand-filled base. Make sure the footprint is at least as wide as the anvil is long so it can't tip when you work off the horn or heel.
- Set the height Stand relaxed with a loose fist at your side and set the top of the anvil face to your knuckle height, roughly 28 to 34 inches. Trim a stump or shim a steel stand down in small passes to dial it in.
- Position and level Point the horn to your non-dominant side with clear swing room all around, then level the face front-to-back and side-to-side with a spirit level. On wood, seat the base in a shallow traced recess.
- Secure the feet Lay a bead of silicone caulk or construction adhesive under each foot, then pin the anvil with chain and a turnbuckle or lag-down straps over the feet. Never drill or weld the anvil body itself.
- Deaden the ring Stack cheap fixes to bring the pitch down: the silicone under the feet, a chain snugged around the waist, and one or two strong rare-earth magnets on the sides. Aim for a dull thud, not total silence.
- Test and adjust Hammer some hot or cold stock and watch for rock, walk, or a lean. Retension the chain, add a magnet, or reshim as needed, and let any adhesive fully cure before heavy work.
Frequently asked questions
How high should I mount my anvil?
Set the top of the anvil face to your knuckle height while standing relaxed with a loose fist at your side, usually about 28 to 34 inches (71-86 cm) from the floor. That aligns the work with a straight forearm swing so you strike flat and save your back. Cut a stump long and trim down slowly, since you can remove height but never add it back.
What's the best base for a beginner anvil stand?
A dense hardwood stump is the easiest, cheapest, and quietest base to start with because the wood grain absorbs ring naturally and you can chop it to exact height. A welded steel stand or tripod is more portable and rock-solid but rings louder until you deaden it. A sand-filled base is the quietest of all but heavy and not portable once filled.
How do I secure an anvil without drilling into it?
Capture the feet, never the body. Run a chain over the waist or through the feet down to eye bolts in the base and tension it with a turnbuckle, and lay a fat bead of silicone caulk or construction adhesive under each foot before setting the anvil down. Bent steel straps or lag-down clips over the feet add extra hold. Drilling or welding the anvil itself can crack the face or ruin the temper.
How do I stop my anvil from ringing so loudly?
You tame the ring rather than kill it, since the springiness that rings also gives you rebound. Stack cheap fixes: a silicone bead under the feet, a chain snugged around the waist with a turnbuckle, and one or two strong rare-earth magnets stuck to the sides. Wood and sand bases start out quieter than bare steel. Wear hearing protection either way.
Does the anvil need to be perfectly level?
Yes, level it front-to-back and side-to-side with a spirit level before final tightening. A face that leans sends your hammer blows sideways, marks the face unevenly, and makes it harder to forge flat, square stock. On a wood base, seat the anvil in a shallow traced recess so it stays put and can't creep as you work.
How heavy should my anvil be for stable mounting?
A good rule is roughly 40 to 50 times your hammer weight, so a 2 lb hammer pairs well with an 80 to 100 lb anvil, with about 66 lb a common beginner floor for general work. Heavier anvils are easier to stabilize and quieter to begin with. If you're on the light end, a mass-heavy base like a sand-filled tube or a big hardwood stump makes up much of the difference.
Last verified 2026-06. Specs, sizes and market prices change - confirm details on the retailer page before buying.